This post is sponsored by Ball® Fresh Preserving Products by Newell Brands.

So far this summer, I’ve written three pairs of posts in partnership with my friends at Ball®Fresh Preserving Products by Newell Brands. In May, it was all about their Mixed Berry Jam and the Jammy Baked Oatmeal I made with it. In June, we focused in on Honey Cinnamon Pears and the Honey Cinnamon Pear Sorbet I turned them into. Last month, the starter recipe was Kosher Dill Pickle Spears (so crisp and tangy!) and the transformation was a batch of Pasta and Kosher Dill Pickle Salad.

This month, we’re talking tomatoes. In my area, they are finally starting to show up at farmers markets with heady abundance. I am buying them 10 or 25 pounds at a time in order to put up enough various tomato products to get me through the year (my goal is to do enough tomato puree, whole peeled, and salsa to get me through to next August).

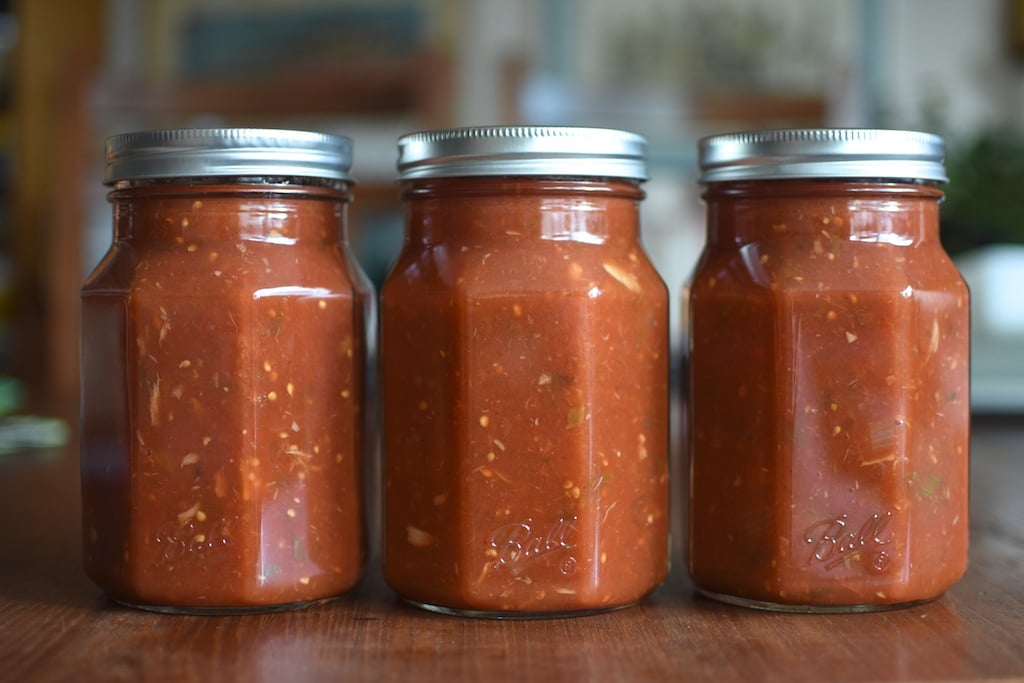
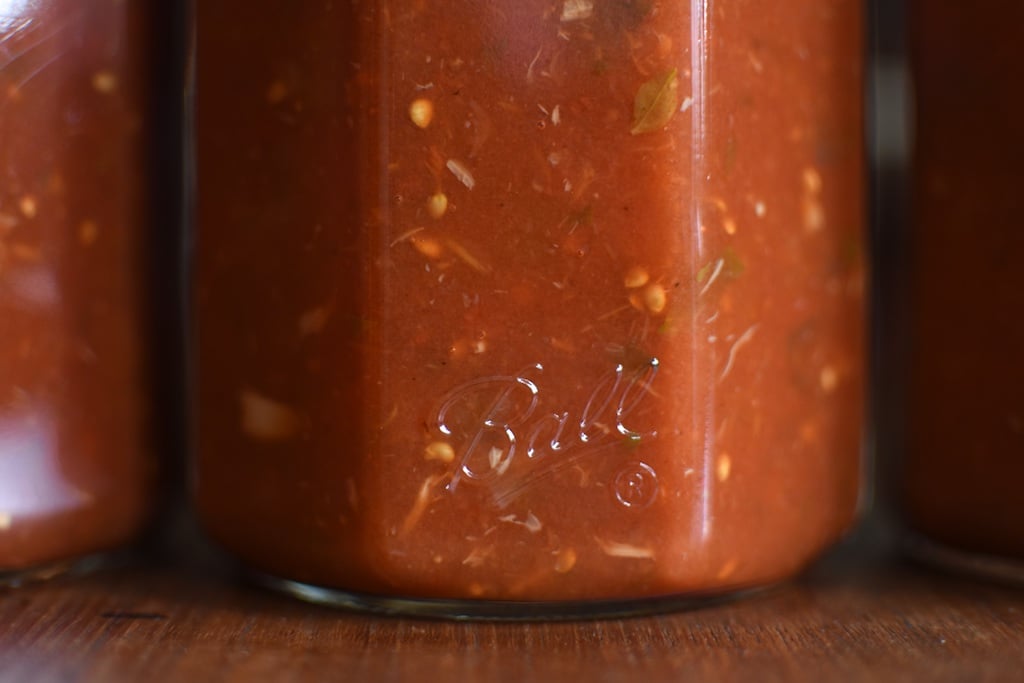
I am also going to make room for several more batches of this Roasted Garlic Roma Tomato Sauce from Ball® Fresh Preserving Products because it is super flavorful. This recipe uses a peeling technique that I’d heard about but never tried before. Instead of blanching the tomatoes in a large pot of water, you broil them (I cut mine in half prior to broiling so that I didn’t have to turn them)! It worked so well. The recipe says you can also do it on the grill, which would be a great way to keep all that heat out of the house.

Once the tomatoes are peeled, you squeeze out the seeds, chop them roughly and heap them in a pot (the tomatoes you see pictured above were just the peeled halves. I seeded and chopped after this).

Once the tomatoes are prepped, you add some chopped onion, three heads of roasted garlic, fresh basil and oregano, and a little salt. Heat to a low simmer and cook until thoroughly warmed through (I confess, I reduced mine a little as the tomatoes put off a good bit of water).
While the sauce heats, prepare a boiling water bath canner and three quart jars.

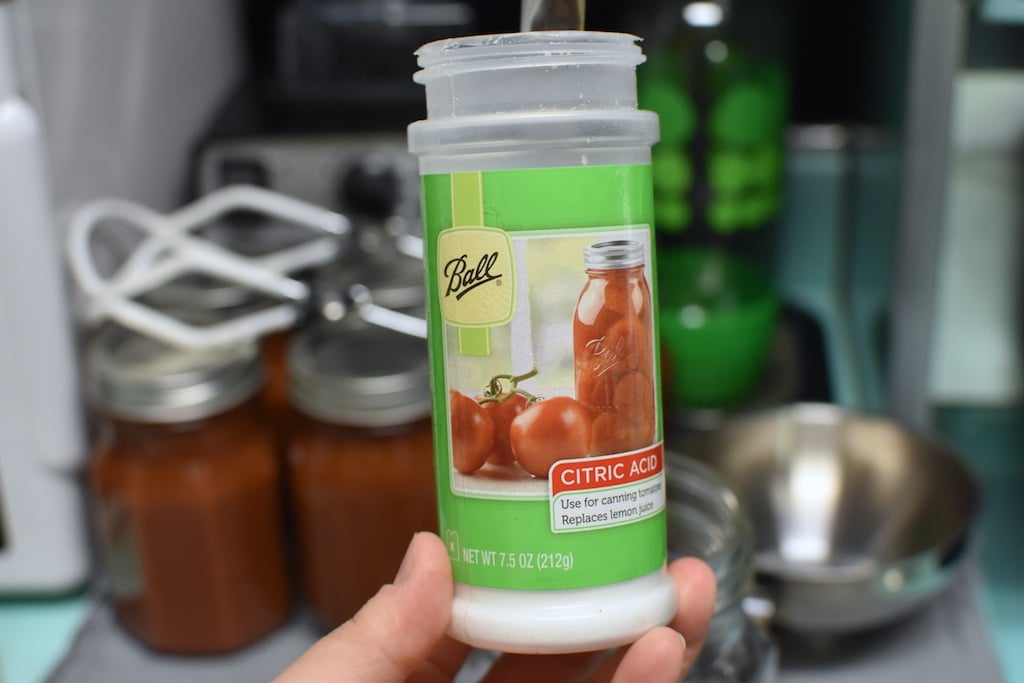
Once you judge that the sauce is done, remove one jar from the canner. Add 1/2 teaspoon citric acid (you could also use 2 tablespoons bottled lemon juice if you prefer), and funnel in some of the sauce, filling to 1/2 inch headspace. Stir with a wooden or plastic chopstick to remove any trapped air bubbles. Wipe the rim, apply a lid and ring, and place the jar back in the canner. Repeat with the remaining jars and sauce.

These jars are processed for 1 hour and 25 minutes at a full rolling boil (remember, if you live at elevation, you need to adjust your processing time accordingly). When the time is up, remove the lid, turn off the heat, and let the jars cool slowly in the canner. Once that time is up, remove the jars from the canner and let them cool on a folded kitchen towel. Once the jars are entirely cool, check them to ensure that the jars have sealed fully and completely.

This sauce is a great pantry builder, because it can be heated and served over pasta, polenta, or sauteed greens. I like to use it in combination with zucchini and eggplant, for a tasty summer vegetable braise. Check back for that recipe tomorrow!
Disclosure: This post is sponsored by Newell Brands as part of a compensated partnership. All thoughts and opinions are entirely my own.

Hello, I want to make this recipe but it says adjust accordingly for your altitude. I’m not quite sure how much I need to adjust it per 1000ft. I live at an altitude of just under 6000ft. Can you help me with times? Their site doesn’t give any additional info on this particular recipe. Thanks in advance.
Here’s the adjustment chart. https://foodinjars.com/blog/canning-101-on-adjusting-for-altitude/
Hello! 🙂
In the ball recipe you’re referring to, the processing time is 1h25, but here it says 40 minutes. I are these 2 recipes the same (yours and Ball’s)? If so which processing time should I do?
Many thanks!
It seems that they have changed the processing time since I wrote this post in partnership with them. I had no idea they had increased the time so radically. You should follow their instructions. I will edit this post.
Hi Marisa,
Love the sound of this recipe, but I am new, so I have a few questions. Is it okay to leave my tomatoes in chunks, love a chunky also, can I add onions? Again, love lots of onions. Then, I would like to pressure can my sauce, so I don’t have to add vinegar, how long would I pressure can these tomatoes in a pint jar for. Thank you for helping me. I know these questions must seem silly, but, I truly am trying to learn, while making a product my family will eat.
Thank you again,
suzie
Suzie, unfortunately I’m unable to help. You’re essentially asking me to write an entirely new recipe. If you want direction on pressure canning tomato products, I suggest you take a look at the National Center for Home Food Preservation section on tomato preservation. You might find some tips there.
https://nchfp.uga.edu/how/can3_tomato.html#gsc.tab=0
Love this recipe, THANK YOU for pointing it out! I usually make what I call “Simple Tomato Sauce”; AKA milled tomatoes and salt so that I can do whatever I want with it. This is a very tasty sauce that will be terrific to have for a ready to go meal. We like spicy so I added more pepper as well as some chili flakes
Forgot to say that I used my KitchenAid attachment to get rid of the seeds. I also used the cut-in-half and broil technique to process my “canned” tomatoes. I removed the hard core prior to broiling and found that it was easier to peel the skin off.
I decided to try this recipe out because I love roasted garlic. I’ve roasted my tomatoes for canning whole tomatoes on the grill for several years. I normally make sauce by straining through my Vittorio strainer–no seeding or peeling to deal with . If I want a chunkier sauce, I add some of my whole canned tomatoes chopped up when I go to use it. I haven’t ever seeded tomatoes for sauce, and it was grueling! So much work and time! In the end, I was underwhelmed by the taste and texture of this sauce. Not enough roasted garlic flavor came through, and I had to whiz it with my immersion blender to make is saucier rather than salsa texture. I did capture a quart of juice while seeding, which I’ll use tomorrow instead of water when I can my whole tomatoes.
Love this recipe, THANK YOU for pointing it out! I usually make what I call “Simple Tomato Sauce”; AKA milled tomatoes and salt so that I can do whatever I want with it. This is a very tasty sauce that will be terrific to have for a ready to go meal. We like spicy so I added more pepper as well as some chili flakes
Hi Marissa. I use this same technique except rather than roasting the garlic separately I add unpeeled garlic cloves to the halved Romas. 20-30 minutes in the oven at 425 and you have roasted garlic cloves that you can squeeze into the tomatoes after seeding them, then add the chopped onions and herbs.
Made sauce, roma tomatoes. before i preserved it for 45
min. it tasted great . after preserving them the sauce was very sour.
The citric acid required for safety probably contributed to that.
You could use this as “Diced tomatoes” instead of calling it sauce? I mean, if you chop in bigger chunk, it could work? I’ll try this recipe this year. I might try to 2 different ways.
Oh I know what I am going to be making this weekend! Thanks for sharing this, it looks delish!
Could you tell me how much the tomatoes would weigh? It doesn’y seem like 9-10 Roma omatoes would make three whole quarts of sauce.
The recipe calls for 9-10 pounds of tomatoes. They’ve used the abbreviation of lbs for pounds in the recipe.
I also use a pressure canner. Mine says 10 minutes at 15# of pressure. Any comments?
Also I put up 90# with a friend. We cooked on the stove and puréed them with my vitamix. No polling and no deseeding. Worked great.
Will other types of tomatoes work like early girl?
This one looks like another fun one to work on this weekend – thanks! I have to admit, I kind of like just buying tomatoes from the tomato man at the farmers’ market, since we’ve had too much rain for tomatoes to turn red this year and too many army worms getting them. For the cost of the tomato plants and constantly having to check them, it might be best to never plant tomatoes again… if not for the the challenge and thrill of victory if there is success.
Yep. For about 12-15$ (CAD), i can have around 15-20 Lbs of tomatoes, any kind. It’s cheap and less trouble. If i want to splurge, i can even buy the same quantity, but organic. Maybe at double the cost. Still a good deal.
Brilliant. That is the one thing about home made sauce that always puts me off; blanching and skinning the tomatoes. And I never thought of roasting the garlic either. This combined with the family recipe will be great. We do add red wine to ours but I can always do that later so as not to compromise the acid for canning. I’d have to cook the sauce for a few hours with the meatballs in it anyway. This so cuts down on the process. Now, if only I had tomatoes this year.
Gotta try this one!
I have been using my grill to roast tomatoes for canning for several years now. I use them as the base for picante, salsa, and just sauce. Much easier than blanching and wonderful flavor.
Looks good! Can you safely omit the garlic?
Yes.
Marisa – any suggestions for preserving in pint or pint and a half jars? Any need to flex eater bath time?
I’d stick with the same processing time, no matter the jar size.
Hi, Kate and Marisa,
I asked this exact question to the Fresh Preserving help line a week ago. They said that, as a rule of thumb for their recipes, it is possible to reduce the jar by one jar size (to pint jars), but it must be processed for the amount of time specified in the recipe. They also said that the same amount of acid/lemon juice should be included in the pint jar as in the quart jar. Hope this helps!
Good. i was going to bother Marisa with the same question :).
I don’t have the proper canning pot to be able to process quarts. So, pint is my option (500ml). I was wondering for the acidity if i had to change it.