This post is sponsored by Ball® Fresh Preserving.

Nearly every summer since 2012, I’ve partnered with my friends at Ball® Fresh Preserving to share recipes and spread the love of canning. Some years, they asked me to develop a few new canning recipes. Other years, I’ve trekked to New York or Indiana to offer canning demos.

This year, they’ve handed me an assortment of recipes. The task? Make and document the process of creating a preserve at home. I had to sit out the July recipe when my pregnancy took an unexpected turn in its final few weeks, but now that I’m back home with my twins, I’m making the time to hop back into the preserving fray (though admittedly, the time it takes me to prep, make, and write about a recipe has more than quadrupled).

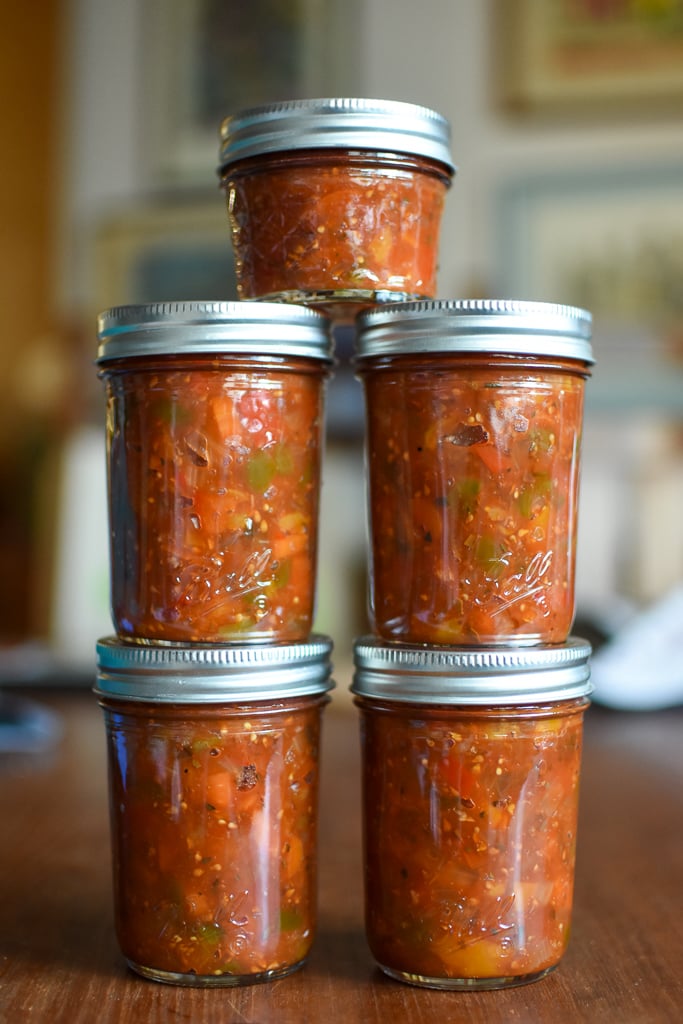
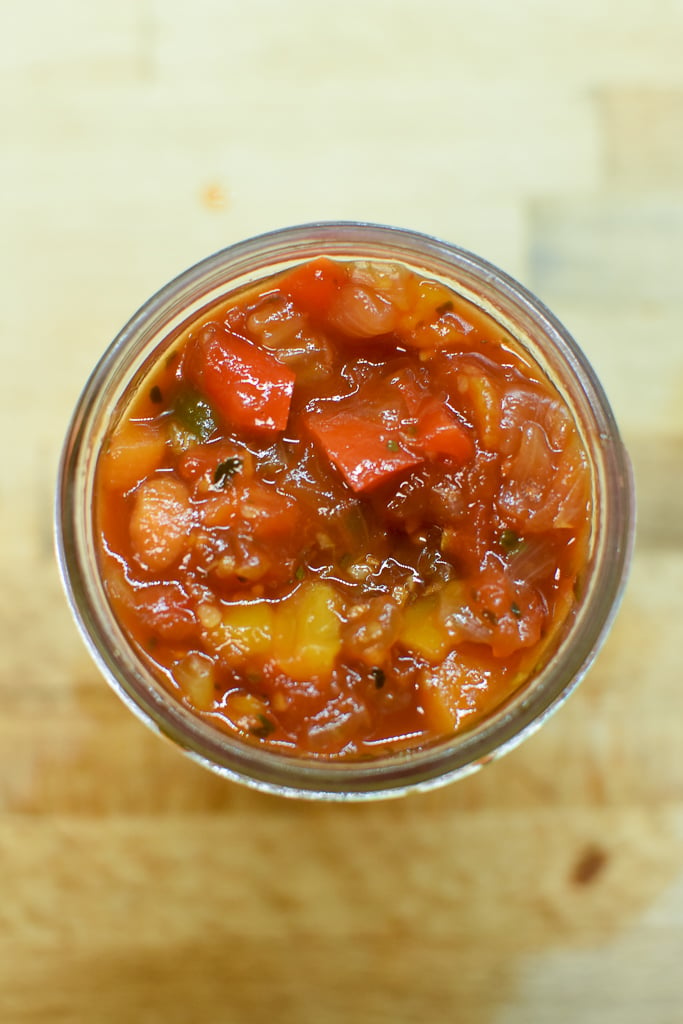
This month, my featured recipe is this glorious, fragrant Antipasto Relish. It’s a sweet and savory combination of tomatoes, peppers, carrots, onions, celery, garlic, sugar, vinegar. It would be entirely at home with a spread of cured meats and cheeses. Though I haven’t tried it yet, I can also imagine it in place of a traditional tomato sauce on a homemade pizza.
I had a little bit that didn’t fit into the jars I processed. My mom and I took turns nipping small tastes out of the jar while making dinner and before I knew it, we’d finished all that remained. It never made it into the fridge.

The bulk of the work of this relish happens on the front end and comes in the form of peeling and chopping. You peel and chop enough tomatoes make up about six cups (this took about three pounds of tomatoes for me), dice three multicolored peppers and a large onion, and slice up a couple carrots and a rib of celery. Click here for the exact proportions.

Once all the prep work is done, you bring the rest of the ingredients together. First, you bundle up some bay leaves and peppercorns in either a length of cheesecloth or a stainless tea ball. Then you combine vinegar, brown sugar, salt, garlic, oregano, and the spice bundle in a large pot and bring it to a boil, stirring until the sugar is dissolved.
Then you add all the prepped vegetables, stir to combine all the ingredients and bring it to a boil. Once it bubbles vigorously, you reduce the heat so that you can maintain a gentle boil and let it cook down until it has the consistency of a thin commercial relish.

I think I cooked my relish down a little bit more than intended, because my yield was lower than the recipe indicated. However, knowing that yields can vary a lot, particularly when you’re working with tomatoes (mine were quite juicy), I’m not upset by it. Who could be upset with four half pints and one quarter pint of something so delicious?!
In the last half hour of cooking, prepare your canning pot and enough half pint jars to hold your finished yield. I used the Ball® Smooth Sided Regular Mouth Half Pint Jars. These jars are great if you plan on gifting your product, because the unadorned sides allow labels to adhere cleanly. It makes for a really lovely gift.

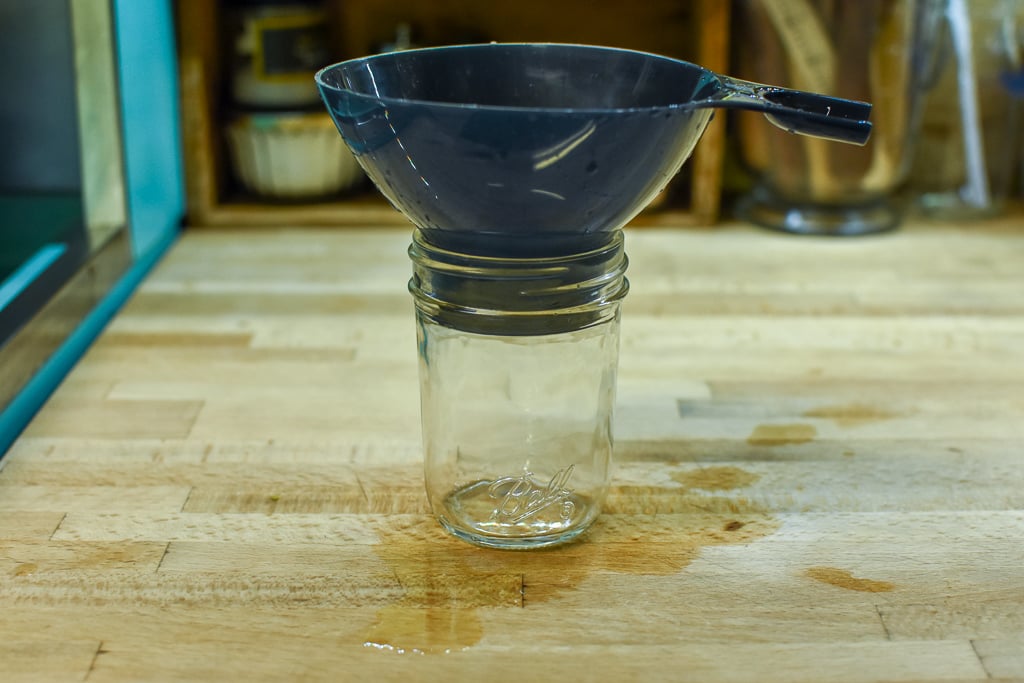
Once you like the consistency of the relish, it is done. Position a clean, wide mouth funnel in one of your previously prepared half pint jars and funnel in the relish, leaving 1/2 inch headspace (find all the necessary tools here). If you don’t have a headspace tool, make sure to pick yourself up a new Ball® Utensil Set. It also comes with a sturdy wide mouth funnel and a nice jar lifter, which are great if your old tools are starting to show signs of age.

Make sure to use your bubbling tool to remove any trapped air bubbles, as a chunky relish like this one is prone to catching those little air pockets. Wipe the rim, position a new, clean lid, and screw on a ring until it is fingertip tight.
Return the filled and capped jar to the canning pot. Repeat this process, filling, bubbling, wiping, and closing one jar at a time, until all your jars are full. Bring the canning pot to a boil and process the jars for 10 minutes (making sure to adjust your processing time if you live above 1,000 feet in elevation).

When the processing time is up, turn off the heat, remove the lid from the pot and let the jars stand in the pot for an additional five minutes (this allows them to cool more gradually, which helps prevent siphoning and can also help develop a more robust seal).
Remove the jars from the canner and set them on a folded kitchen towel. Let them sit undisturbed for 12-24 hours so they can fully cool and seal. Before storing, make sure to check that the seals are firm and unbending.

If you’re tempted by this Antipasto Relish, click here to get the full recipe.
You can also visit Ball Home Canning for new, seasonal recipes from Ball® Fresh Preserving, as well as to find new promotional offers throughout the summer!
Disclosure: This post is sponsored by Ball® Fresh Preserving as part of a compensated partnership. All thoughts and opinions are entirely my own.

Recipe no longer on Ball site with link
I need to update the post but here’s where it can be found now. https://www.ballmasonjars.com/blog?cid=Antipasto-Relish
Can’t find the recipes
Here is the link. I’ve also updated it in the post.
https://www.ballmasonjars.com/blog?cid=antipasto-relish
Hi Marisa! Do you think that green beans could be subbed for some of the peppers or the celery? Thank you! Excited to make this recipe 😀
I would not sub green beans into this recipe.
I just made this recipe but instead of getting six 250ml jars, my yield was nine 250ml jars. I guess my peppers, carrots and celery were larger than what the recipe calls for. Now I’m worried that this might mean the acidity is not high enough. Am I at risk now? I wish all recipes used weights.
Thanks!
It’s probably okay. There’s a lot of acid in this recipe. And perhaps you didn’t reduce it as much as the recipe thought you would. However, if you’re worried, you could always refrigerate the jars.
Can u leave the skins in the tomatoes. Thank u
Safety wise, it’s okay to leave the skins, but many don’t like the texture they give the finished product.
Hi just wanted to know if this comes out very vinegary.
It is quite vinegary. It’s still quite delicious.
Hi, 2020 now and recipe site still says unsafe……help I need the recipe
Thank you for reminding me about this. I’ve updated the post. You can find the recipe here: https://www.freshpreserving.com/blog/antipasto-relish
Would it hurt integrity of this recipe for canning purposes if I added some chopped black olives? Would love to give this antipasto an olive zing!
It’s never a great idea to add low acid, high fat ingredients to an acidified water bath preserve.
Cannot get recipe……..says site unsafe, go back
I will let Ball know that there’s an issue with their site.
Hi, this sounds just delicious. However, when I tried to access the recipe, it told me that this site is not secure and it would not open. bummer.
I will let Ball know that there’s an issue with their iste.
I am so glad that you are back – enjoy your boys! May they only bring you happiness.
Thank you!
Looks good! By the way, could i keep the skin on the tomato to save me some time? I really don’t mind it in anything else and i need to find a way to use my 3 pounds of frozen tomatoes i have. (and of course, they’re not peeled ). And great to have you back and that you’re still alive! My sister-in-law also got twins and she just want to litterally just die!! 🙂
Sounds delicious! I picked up some of the last homegrown tomatoes for our area (Texas gets very hot, very quickly) over the weekend and I think this will be a perfect vehicle for them. Also… so glad to see you back!