Are you a beginner who wants to learn to can peaches in syrup? Look no further than this post!

I’m so glad you’re here to learn how to can peaches in syrup. It’s an excellent way to save up a bit of summer flavor for the cold, winter months.
Any time you tackle a canning project, start by gathering your tools and ingredients. On the tool side, you’ll need a large pot to serve as your boiling water bath canner (you can find more detail about that here), as well as a rack to drop in the bottom. This lifts the jars off the bottom of the pot and allows the water to circulate. I often use the flexible silicone trivet pictured above, but a round cake cooling rack is also a really good option.

When you’re ready to get started, take the jars out of their packaging. Remove the lids and rings and wash the jars, lids, and rings in warm soapy water. I’ve been in the factory where Ball jars are fitted with lids, boxed, and sealed and it not a sterile environment. Those jars my look clean, but they’re filled with factory dust and residue. Wash them.
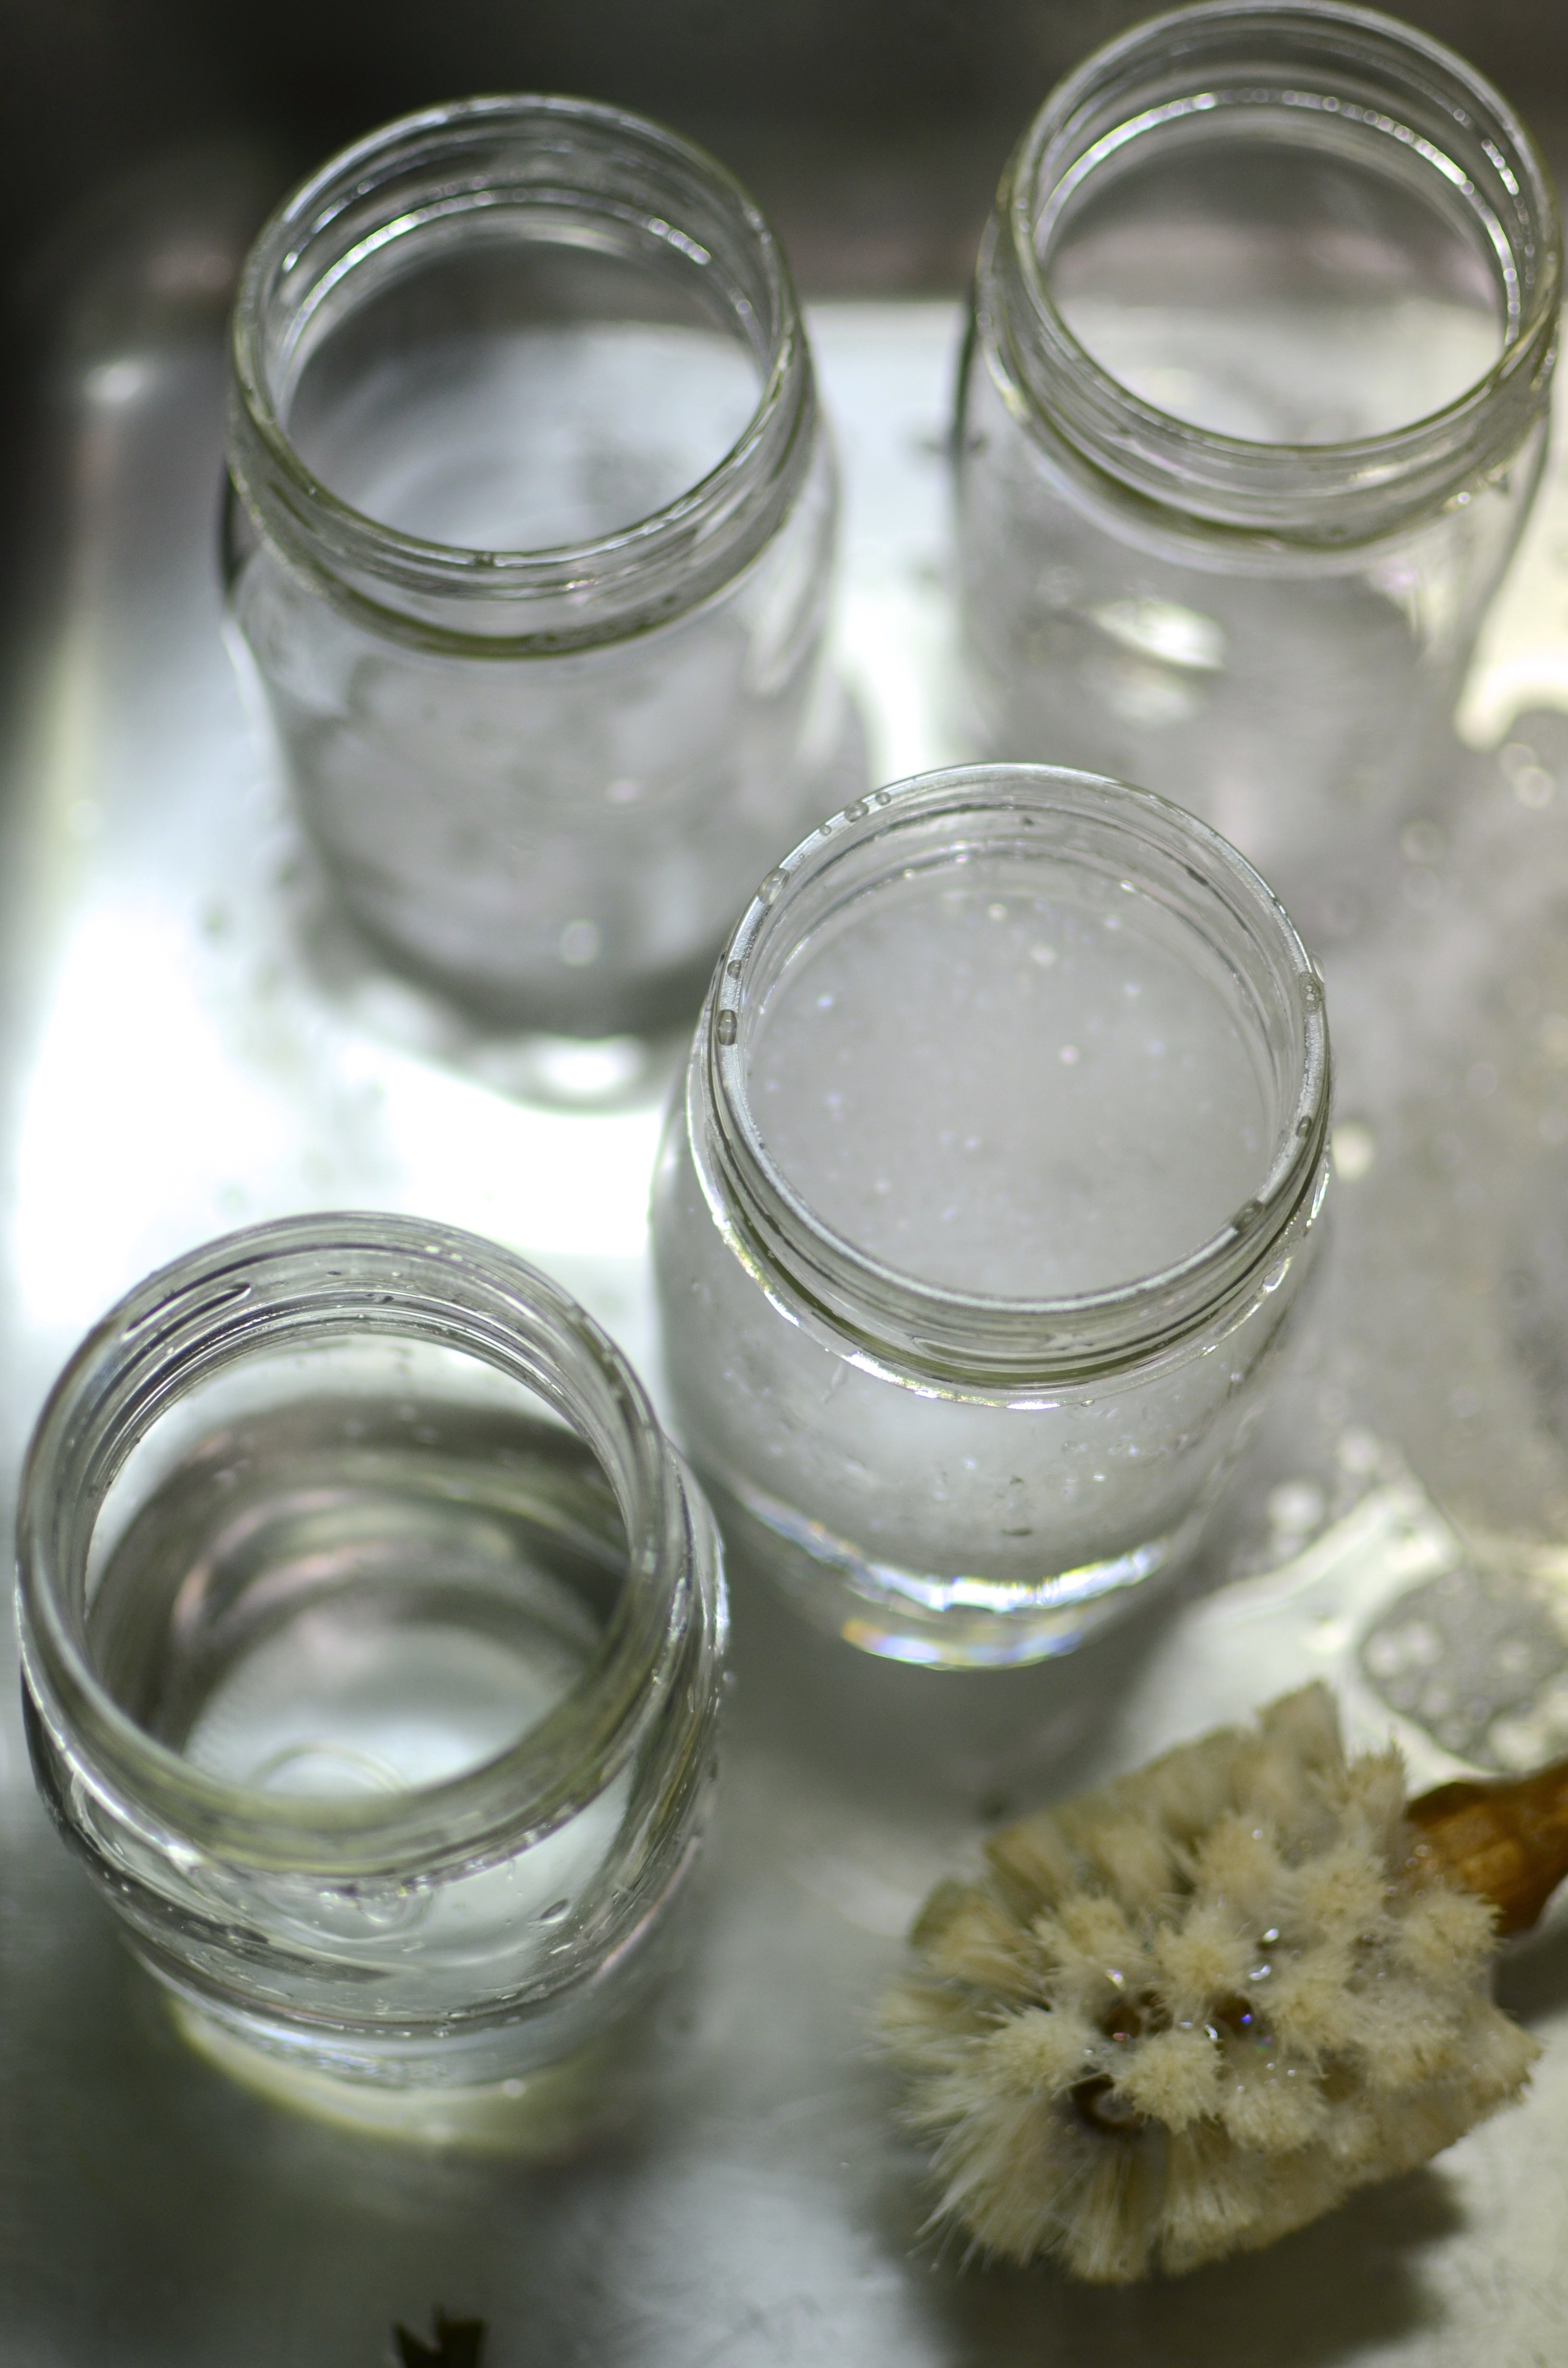
If you’re using jars that have already been used once or twice, make sure you check the rims for any chips or cracks that could prevent the jars from sealing properly.
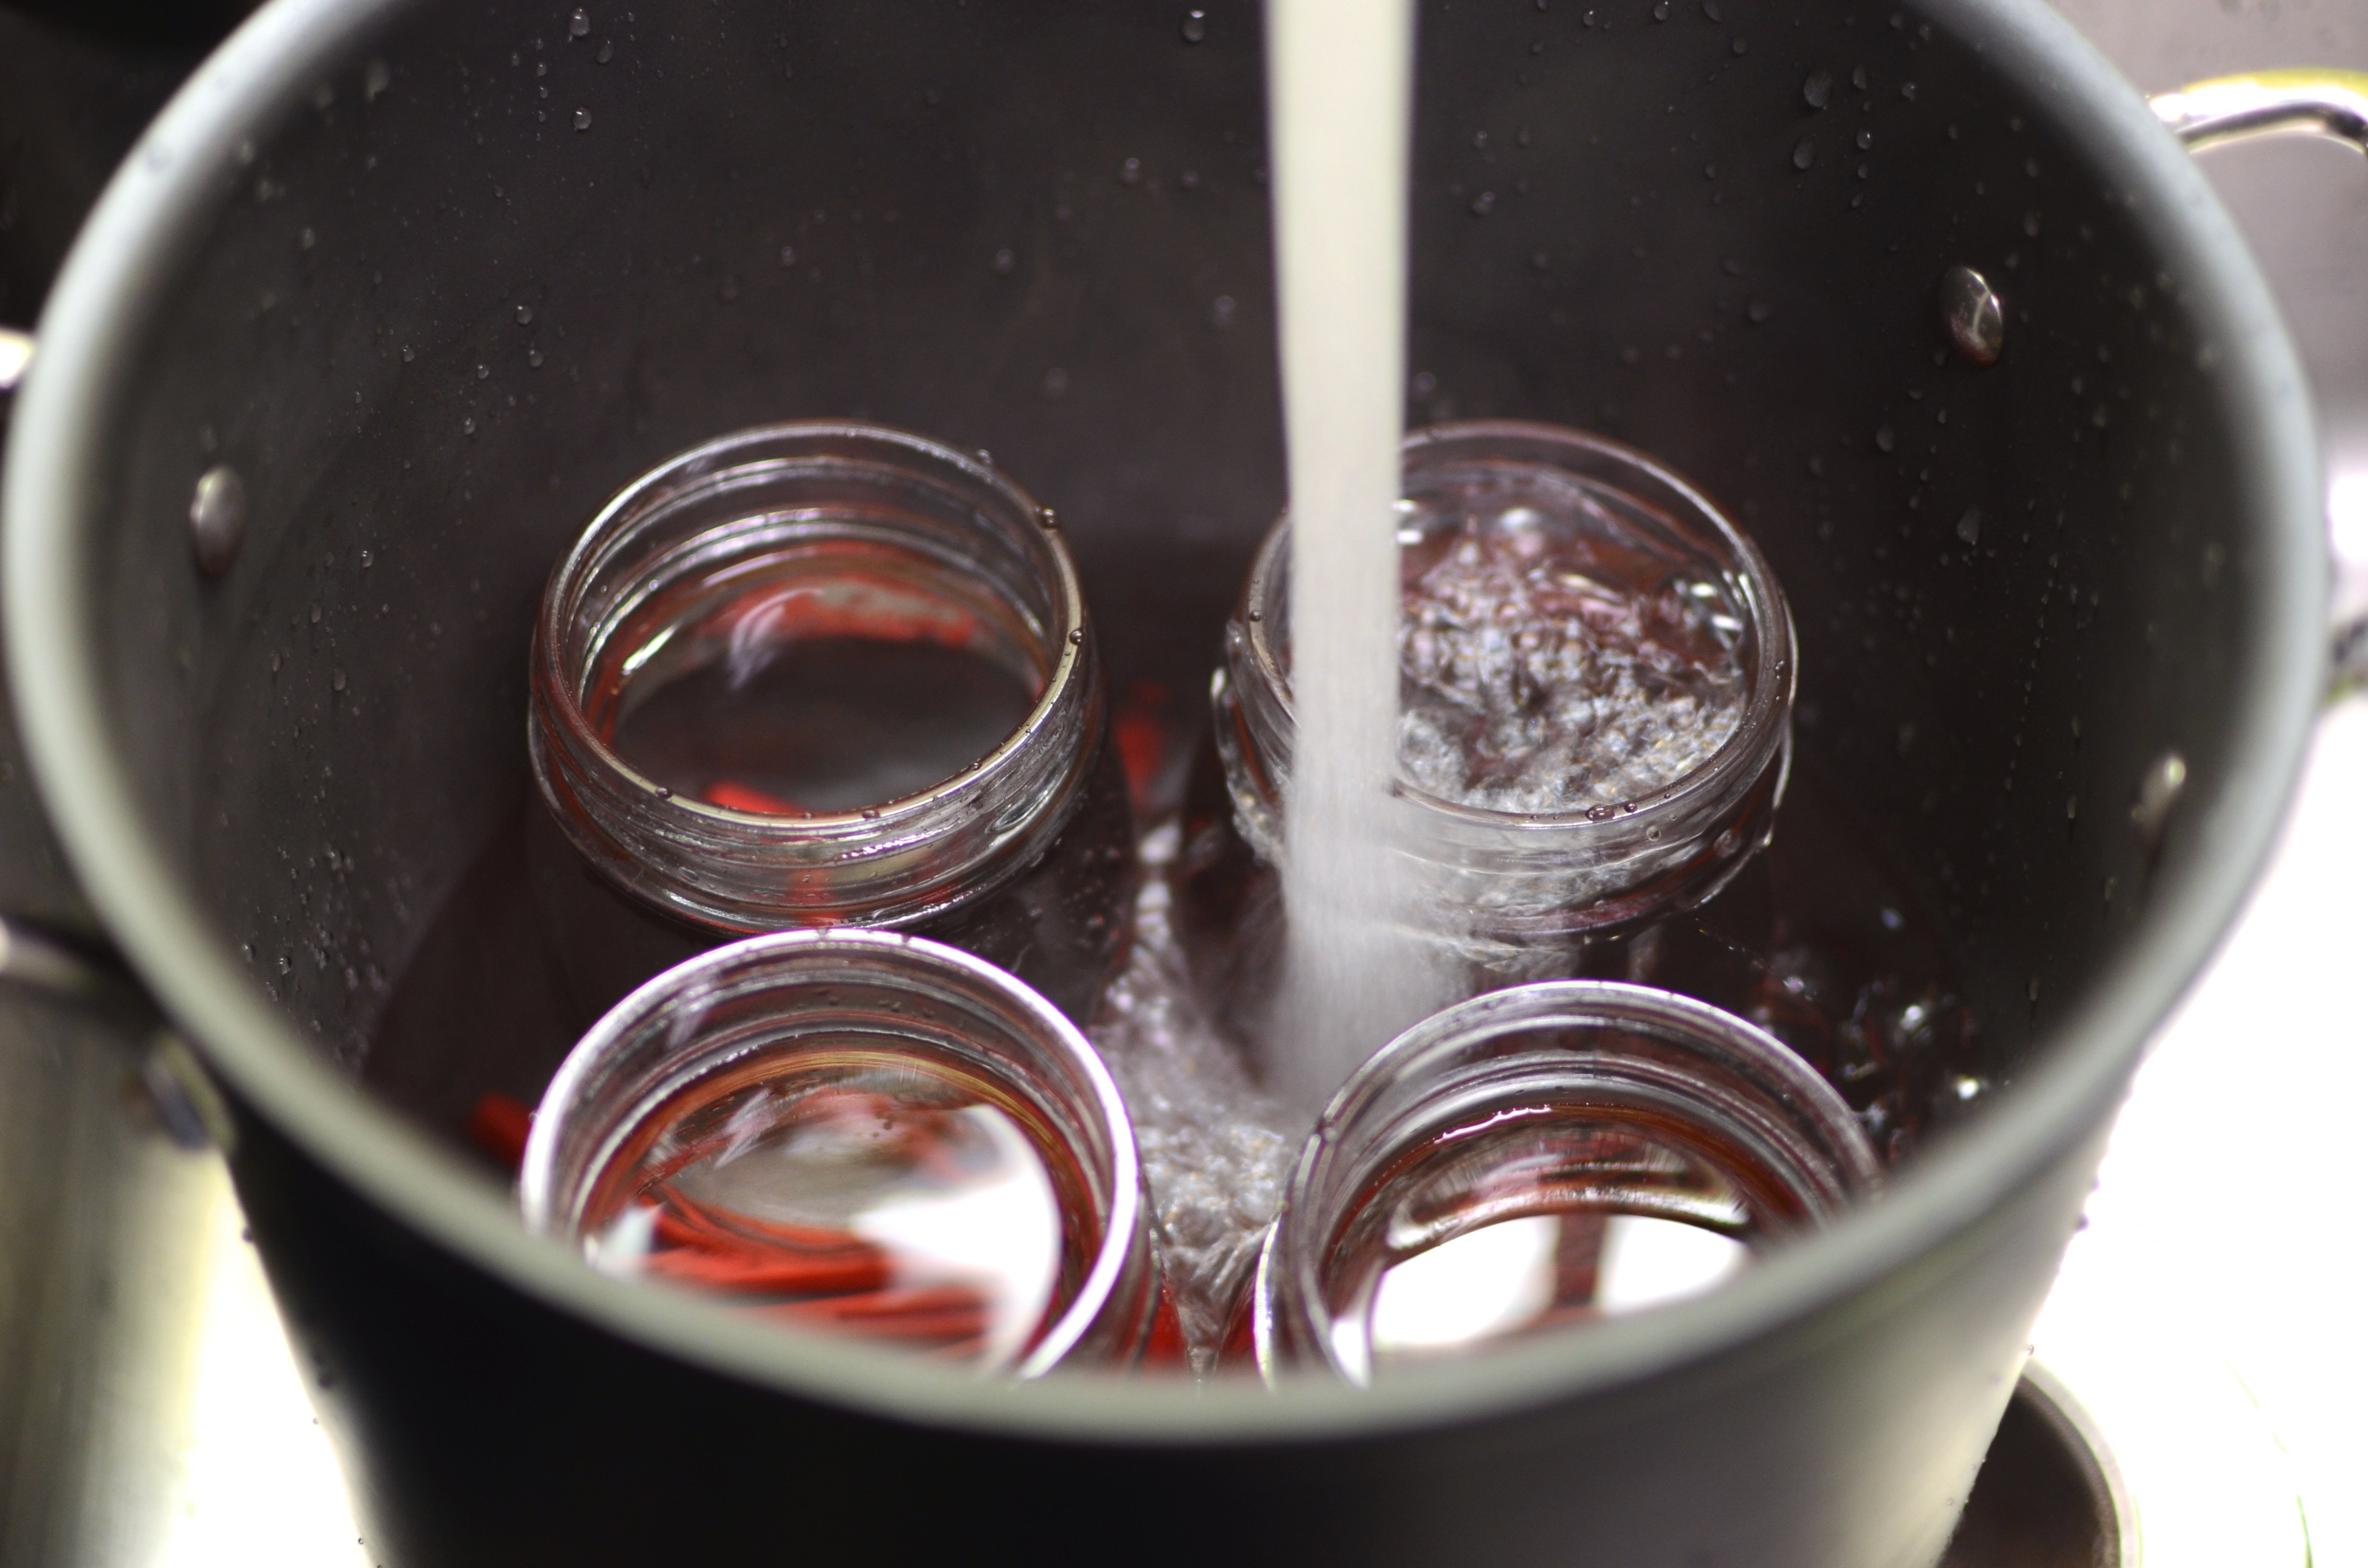
Once your jars squeaky clean, fit your rack into the bottom of the canning pot and arrange your jars on top. Fill the jars with warm tap water and then fill the pot up to the rims of the jars.

Set that pot on the stove, add a healthy splash of white vinegar (this helps keep your jars and pot clean, and if you have hard water, will prevent any minerals from depositing on your jars). Bring the pot to boil and reduce the heat to your lowest simmer, to keep the jars warm.
The rule of thumb is that hot food needs to go into hot jars. While mason jars are designed to withstand temperature changes of up to 90 degrees F, any more of a change could cause thermal shock which will lead to breakage.
Now that your jars are ready, it’s time to can peaches in syrup. For those of you concerned about sugar, know that it doesn’t really sink into the peaches too much, and will greatly help prevent the peaches from browning. However, if you prefer, you can also pack these peaches in fruit juice. These syrup packed peaches hold their quality longer than the juice packed ones, but are still delicious if used promptly.
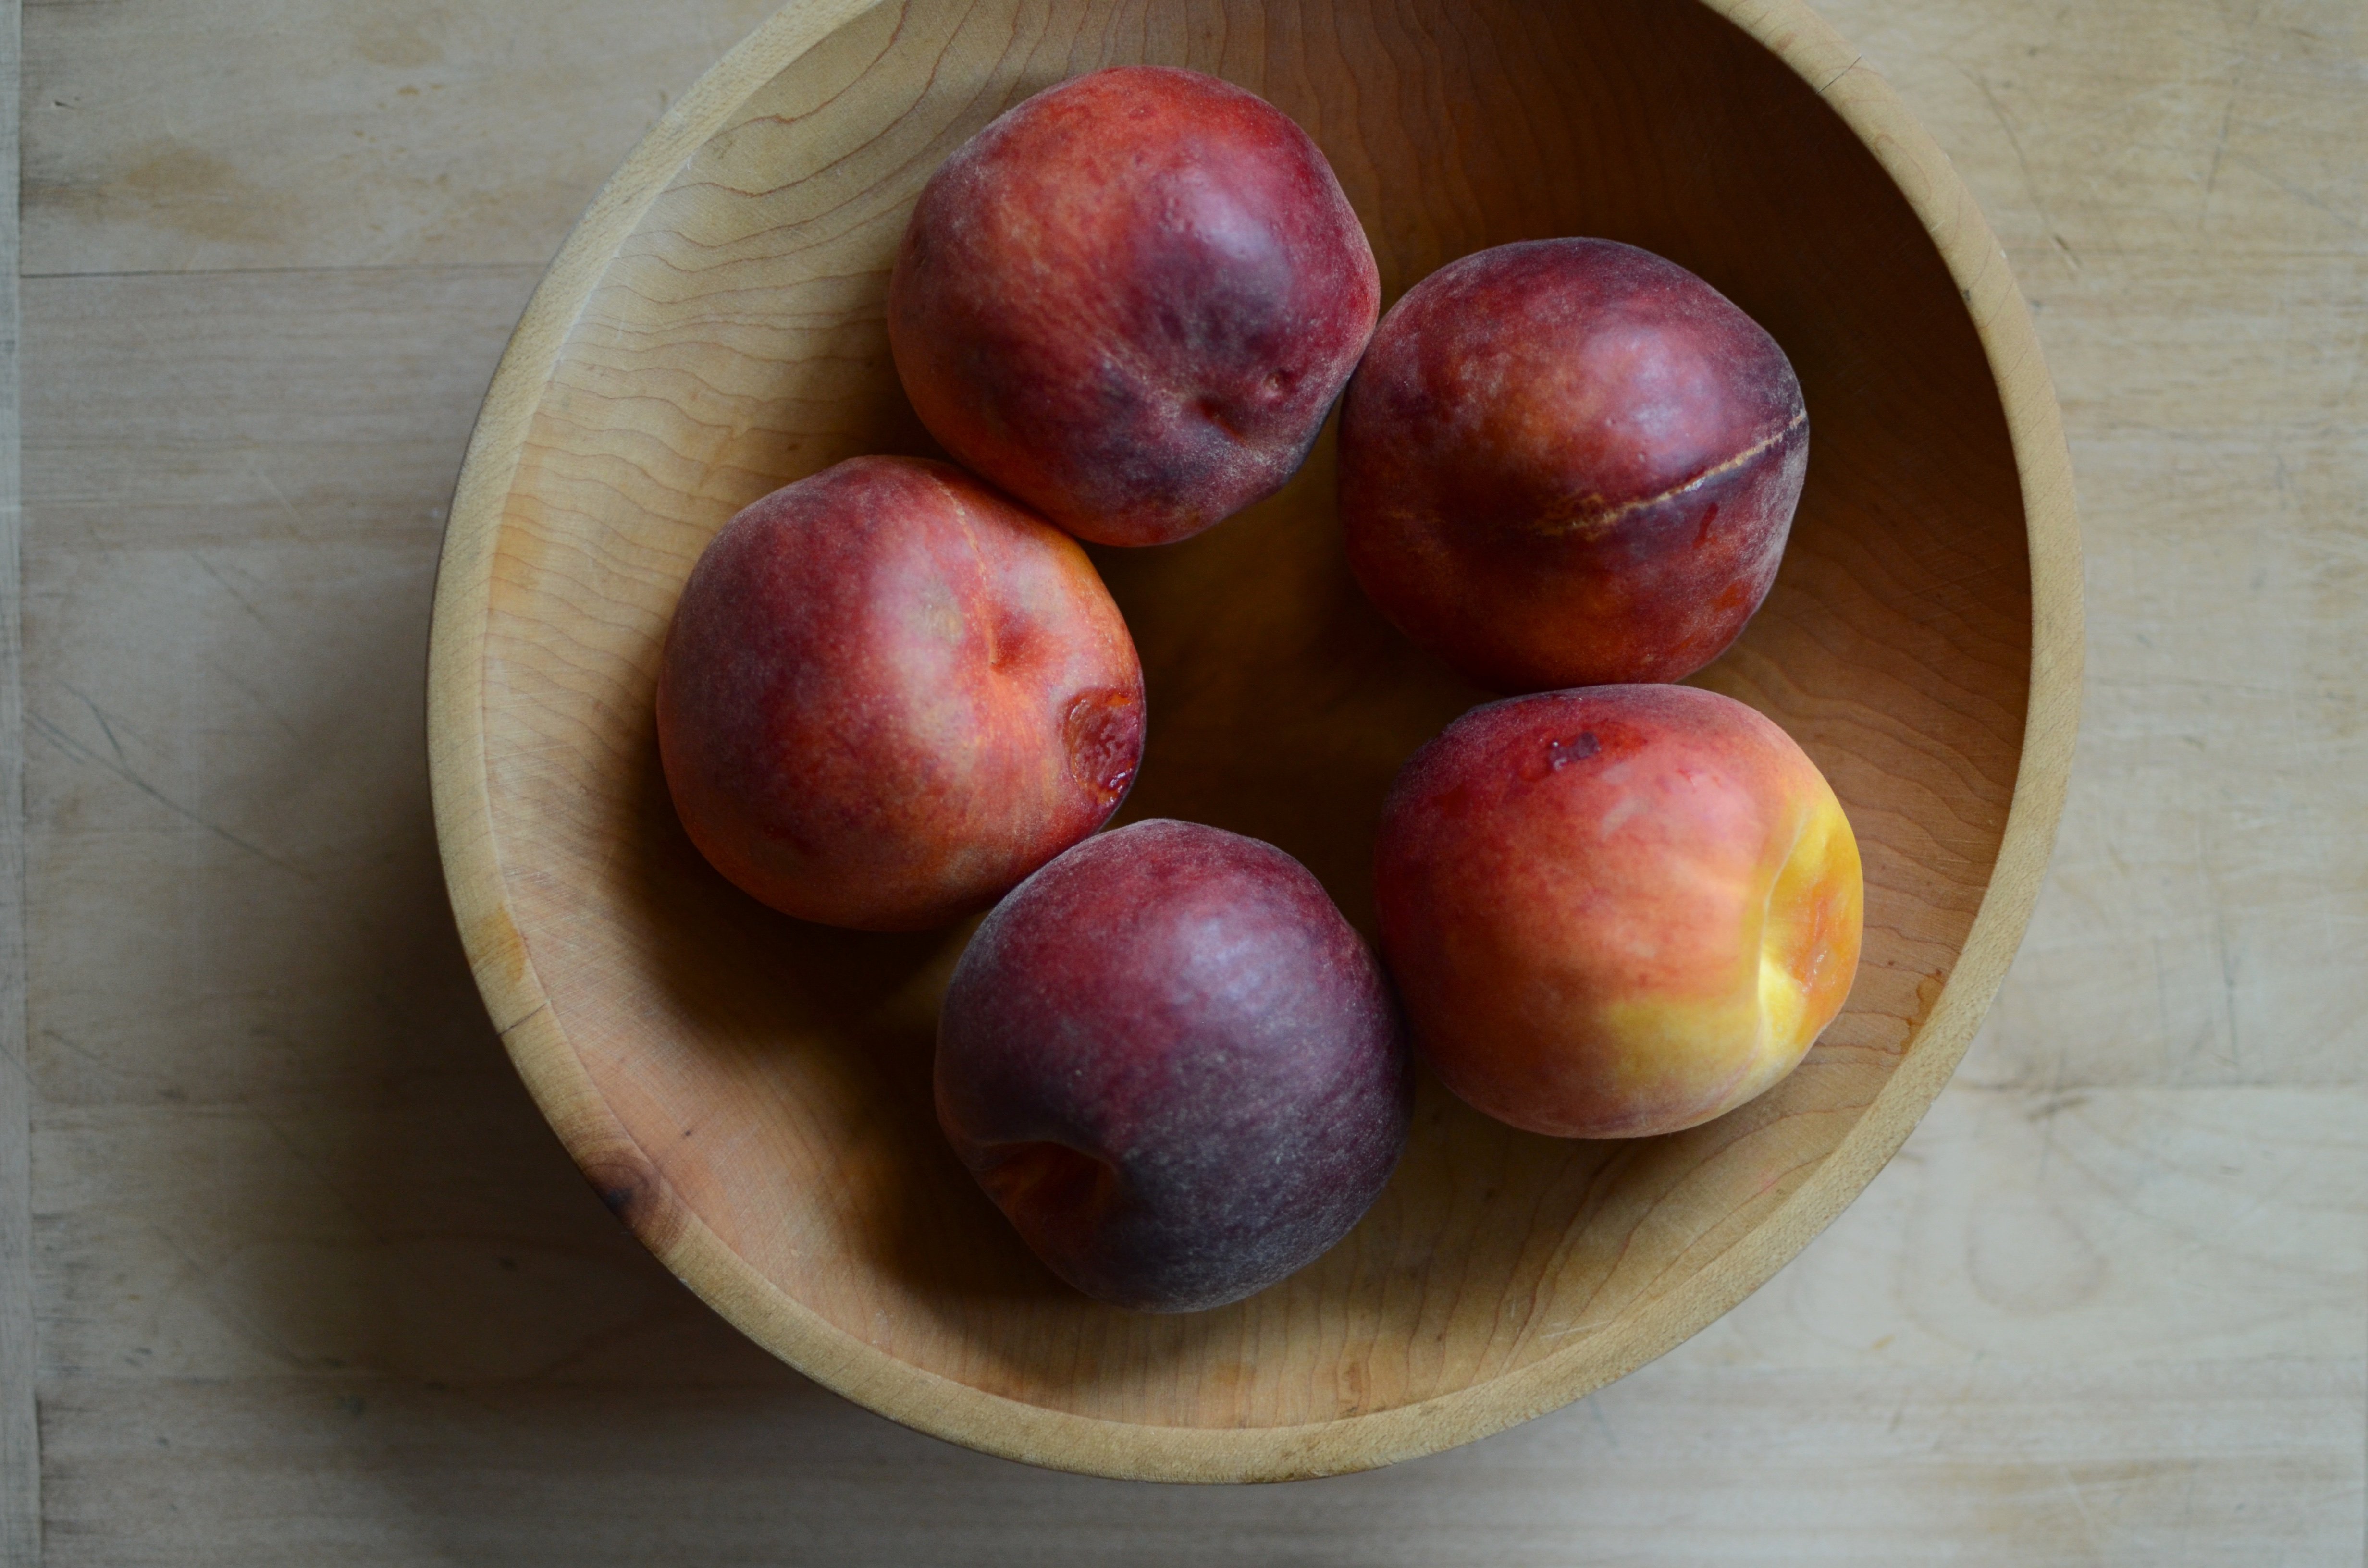
First, make the syrup. Combine 3 cups of water with 3/4 cups granulated sugar in a 4 quart saucepan. Add 2 tablespoons of bottled lemon juice (this is present to help prevent browning) and bring to a simmer. Stir occasionally to ensure that the sugar dissolves.
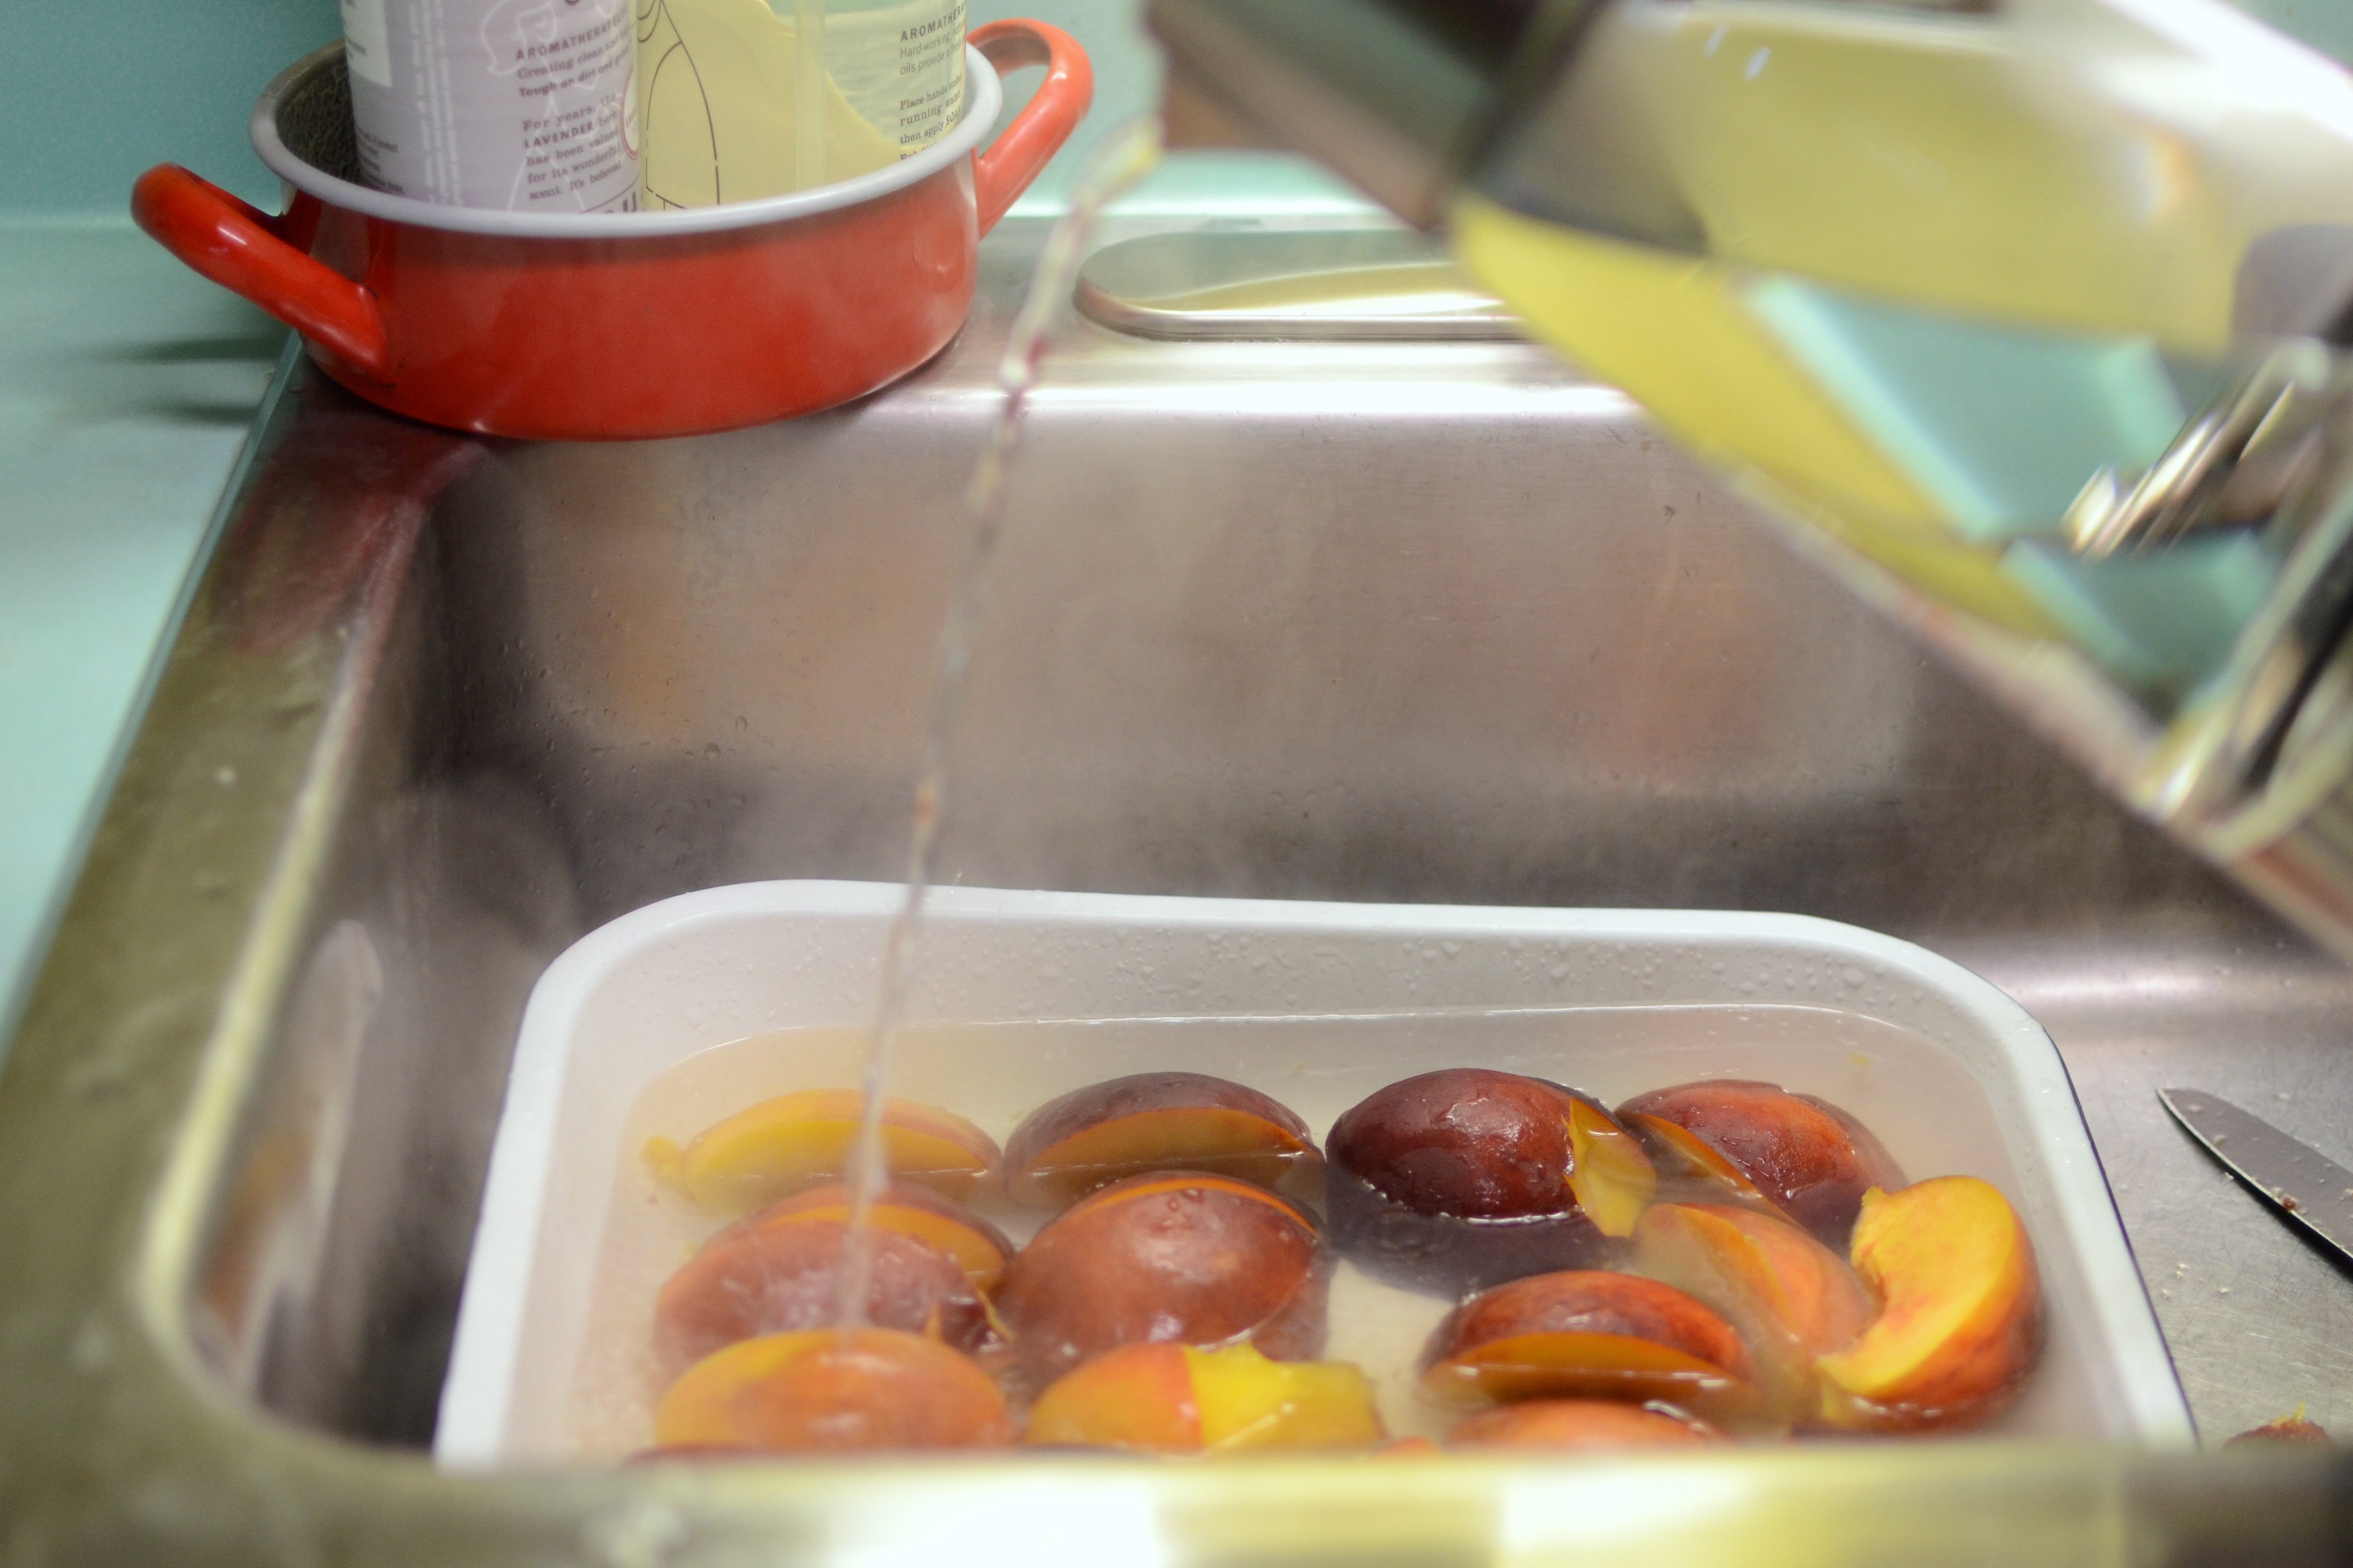
Cut three pounds of peaches into quarters, remove the pits, and arrange the peaches in a heatproof baking dish (it’s best to do this in your sink). Bring a kettle of water to a boil. Once it is hot, pour it over the peaches and let them sit for 2-3 minutes.
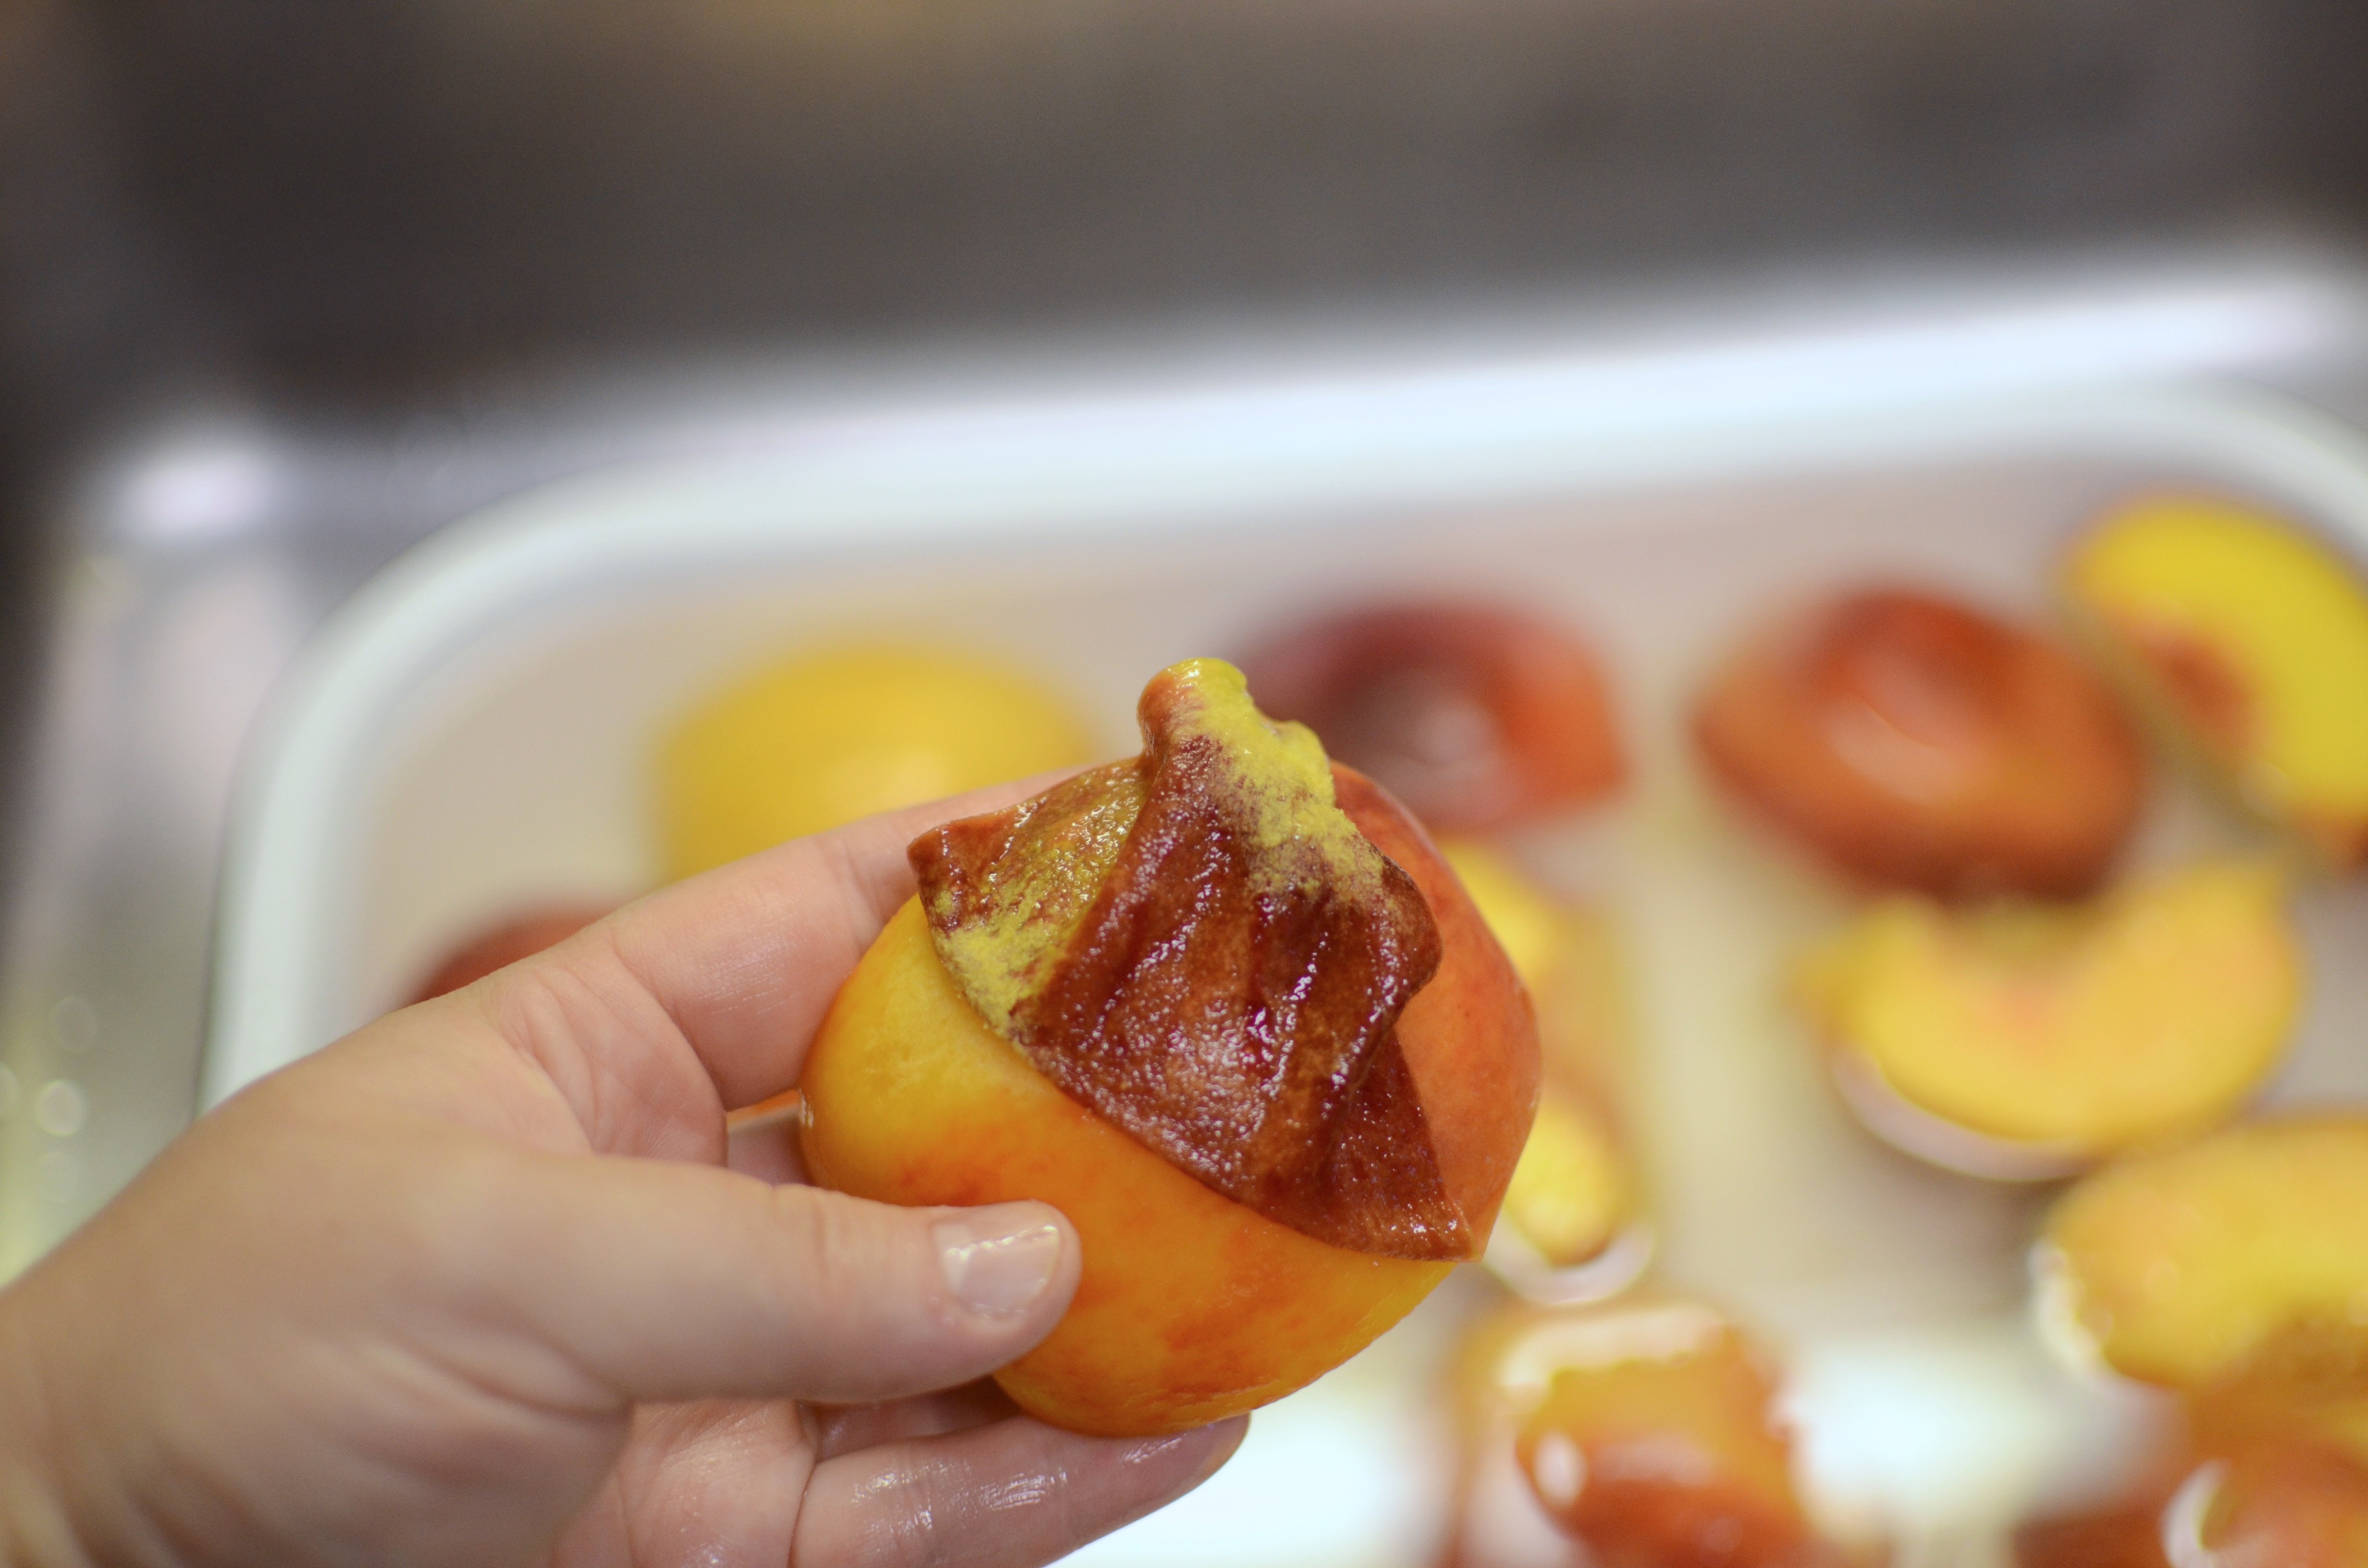
When the time is up, run cold water over the peaches. Provided that the peaches were ripe enough (peeling underripe peaches is tortuous work), the peels should lift off easily. As you work, gently slide each peeled peach quarter into the hot syrup so that the amount of time the peaches are exposed to the air is limited.
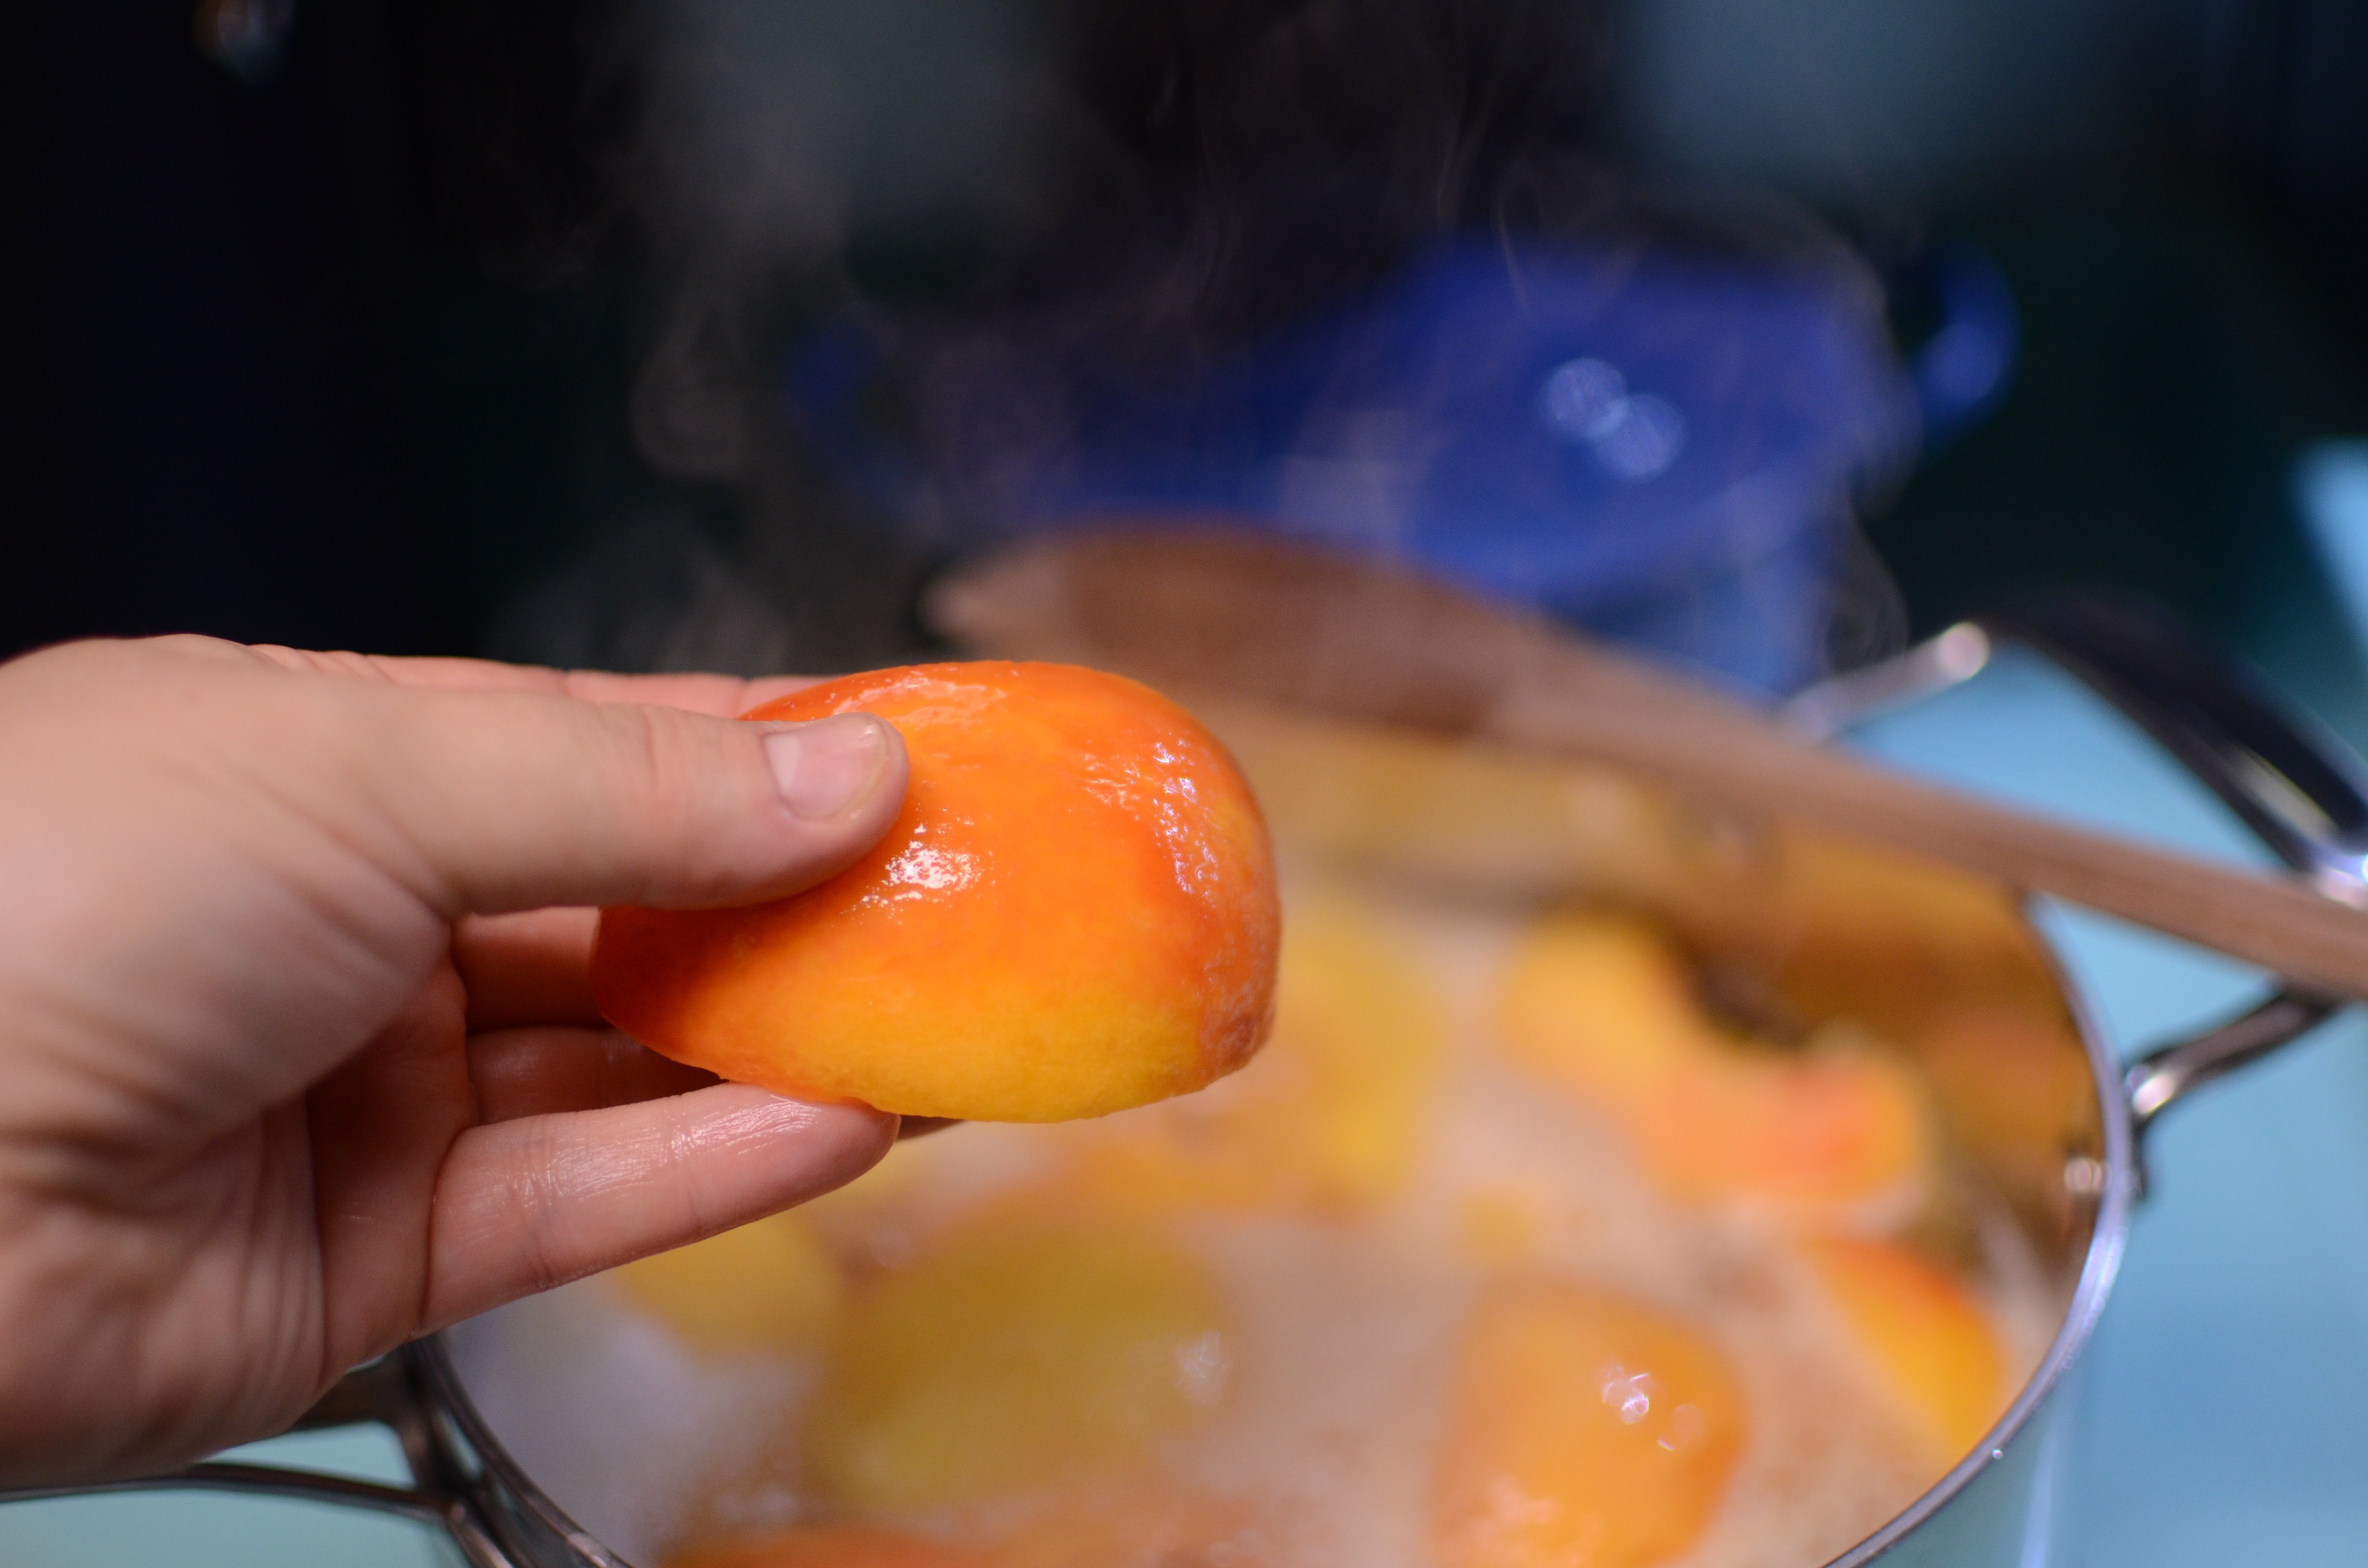
Once all the peaches are peeled and in the pot, bring the syrup to a boil and cook for one minute. Remove the pot from the heat. Pull the hot canning jars out of the canning pot and arrange them on a folded kitchen towel. Position a wide mouth funnel on top of a jar and use a slotted spoon to portion the hot peach quarters into the jars.
Top the jars with syrup and use a utensil like a wooden chopstick or the bubbling tool that comes in the utensil kit to ease out any trapped air bubbles. Fill the jars with syrup, leaving 1/2 inch headspace.

Wipe the rims of the jars with a damp paper towel. Center a clean lid on the jar and apply the ring. Tighten it only until it meets resistance. You don’t want to overtighten it, as that could cause the lid to buckle during processing. Place the jars in the canner, put the lid on, and bring the pot up to a rolling boil. Process the peaches in your canning pot for 20 minutes (if you live at elevations above 1,000 feet, you’ll need to increase your processing time. Check out the chart here).

When the time is up, turn off the heat, pull the canner off the hot burner, and remove the lid. Let the jars cool in the canning pot for five minutes (this helps prevent liquid from siphoning out of the jars and produces a stronger seal). Once that time is up, remove the jars from the pot and set them back on the folded kitchen towel.
Let them cool undisturbed for at least 12 hours. Once that time is up, check the seals. If the lids are concave and seem strongly adhered to the jars, you are good. Wipe any sticky residue off the jars and store in a cool, dark place. For the best quality peaches, eat them within a year.

You’ll notice that my finished jars have some air bubbles in them. I bubbled these jars repeatedly during filling, but some bubbles remain. Once the jars have sealed, the bubbles aren’t major concern. The only time you need to worry is if the jar has been sitting undisturbed for many hours and th bubbles are moving towards the top of the jar on their own. That is a sign of fermentation. However, if the bubbles are inactive and simply present, they are not a cause for concern.

I would love a stainless ladle with a pouring lip.
Love the recipes have 25 lbs of peaches to put up
I’d like to get some of the colored Ball jars.
I just canned some peaches yesterday, in a light honey syrup. Only 6 quarts and we really savor them in the middle of winter! Love your posts 🙂
I would LOVE this! Adore this blog!
MaryO1230
San Pedro, CA
On my wish list is a wire basket to lift the cans out of the bath. Right now I use old canning lids.
I would like to add the silicone trivet. I enjoyed your presentation at the library on the 10th!
my local True Value just closed, I was so sad to see them go… they were my go to place for Tatler Lids!
Thanks for the simple and useful hint on getting the skin off a small batch of items. I will definitely be using this technique.
While I don’t need any jars (I have over 700) I would love to try the new smooth side jars. And I always need lids, lots and lots of lids. This week we will be picking peaches.
I pretty much have everything I need. Next thing to add would be a pressure cooker!
New pot, mine leaves the water rusty looking. not good for sterilizing the jars.
I love True Value! Was just there last night.
I’m in near desperate need of a new canning kettle. And I can always use more lids…
I believe in continued education as there can be changes to the ‘rules’ about canning. I also need a new bubble release wand…..I can’t find mine anywhere!
I need more lids!
I need a new big pot for waterbathing. I also would like a new jar lifter.
A nicer funnel than the one I have been using, and definitely more jars and lids. I gave so many things away last year that I’m now facing a serious shortage! Thanks for all the fun giveaways, Marisa!
A trivet would be great to have…and I always need more lids!!
I’d love to get a silicone trivet like yours!
Stainless steel funnel.
I really like our True Value Store. Hardware stores are fun.
I’m hoping to add a pressure canner to my toolbox at some point in the near future!
I’m hoping to add another pressure cooker to my canning tool box.
I’m looking for an insert that keeps floating fruit submerged in the syrup.
More half pint jars and labels for all the jars I make.
I always need more jars and lids though i’m a mutli generation canner as it is a part of life , I give so many away as gifts filled with great goodies , I also always have my eye out for old outdated canners and love to bring these high quality tools back to useful life ,which is really no big feat ,with the parts reddily available often adding a new gasket weight /stem and gauge can save a canner from the recicleing bin and get a beginner started over the biggest hurtle in home canning “affording a pot “
I really like the silicone trivet. I can already see rust on the cake rack I’ve been using. I could also probably use a real canning pot instead of the big soup pot I’ve been using. Only half pint jars fit well.
My local Target has quite a nice selection of canning supplies including some of the fancier things mentioned here. I have a local organic nursery that also has a canning section but he stocks the more basic things.
I can always use more small canning jars.
I always need more lids.
Jar weights for fermenting…..the one that fit into the quart jars.
I’d really like one of those silicone trivets. My mom’s (which may have been her mom’s) canning rack is rusted and just not nice any more.
I need to replace my jar lifter. The rubber has worn off and it slips sometimes!
I need a headspace measurer. I always just eyeball it!
I would love to have some smaller canning jars. I only have large ones.
I’d always like to add more jars and lids. One thing I’d really like as well is a smaller pot, so when I have small batches I don’t have to lug out the big one.
My mom used to can peaches every year, and it was so lovely to eat them in the dead of winter.
I’d love a silicone trivet; I currently use an old and rusting canning rack that really needs replacing.
I could use a flexible silicone trivet, a wide mouth funnel and more flat lids.
Jars and lids! especially jars! Thank you!
Flat lids!! I feel like I always run out “JUST” when I’m ready to take on a new project. I want a stockpile at the ready.
You’ll laugh, but I want to add some disposable lids to my canning supplies! I switched to Tatter years ago and love that I reuse them over and over and never have to worry abou tnot having lids (except when I canned up everything I had last year) and that I don’t spend money on lids. But this year I’m going to be gifting to people who may not return lids and also possible selling a few to friends for gifting. So I need disposable lids!
Heather
more jars!
I would get a new trivet. I have the same silicone one as you but it tends to float around after I take the jars out and I have to use two spoons to flatten it to put the jars back in for processing. I would also like to get some of the colored jars!
I want to try pressure canning!
I’m probably going to look for a rack that fits my pot better. The one I have was from the Ball starter kit, and while it’s great, it’s a stretch to put 4 jars in at once, and my pot could definitely hold a rack with a bigger diameter.
Always more jars and lids!
I can always use more wide-mouth jars.
I’d like to add a new stock pot. Mine were very cheap and have gotten a bit dingy.
I had not heard of a device to get rid of bubbles; I use a chop stick.
I would love to find a small stainless steel ladle for jar filling. I have a plastic one now that I love, but wish it was metal for longevity.
I definitely need a rack to lift the jars of the bottom of the pot, that’s my next purchase. And I need it soon, peach season is upon us!